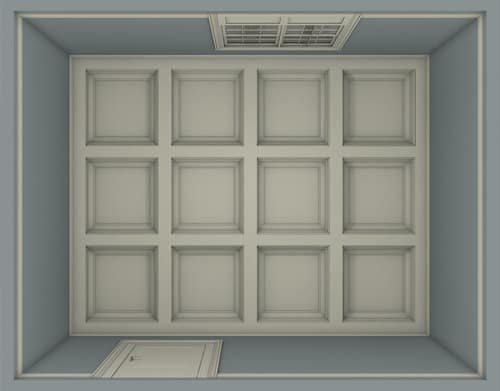
INSTALLATION PROCESS – BOX BEAM COFFERED CEILING SYSTEM
THE MOST EFFICIENT AND PRECISE METHOD FOR INSTALLING AN AUTHENTIC BOX BEAM COFFERED CEILING TREATMENT
The patented Tilton Box Beam Coffered Ceiling System installs faster, easier and with greater precision than ANY conventional method for installing an authentic coffered ceiling treatment.
STEP 1:
Measure and Mark

- Measure and mark the center lines for the Length and Width of your ceiling (shown in blue).
- Locate and mark all of the joist locations across the entire ceiling area (shown in red).
TOOLS NEEDED FOR THIS STEP:

STEP 2:
Secure and Adjust the Coffer Modules

- Secure the pre-assembled coffer modules to the ceiling by driving the included shim-screws through the integrated fastening flange at the joist locations.
- Using a horizontal laser level as a a guide, adjust the shim-screws on each coffer module to achieve a perfectly level finish across the entire ceiling.
TOOLS NEEDED FOR THIS STEP:

STEP 3:
Install the Beam Boards & Perimeter Moldings

- Trim to length and install all of the included Beam Bottom Boards with the longest runs installed first and the shorter runs fit between them.
- Install the included Perimeter Molding around the entire perimeter of the ceiling.
TOOLS NEEDED FOR THIS STEP:


